You have already tried the drain snake. You pushed it in as far as it would go, twisted it, pulled it back out, and your sink is still not draining. That is one of the most frustrating plumbing situations a homeowner can face, especially when you feel like you have already done everything right.
Here is the good news: a drain snake failing to reach the clog does not mean you are stuck calling a plumber. In most cases, it simply means the blockage is sitting deeper in your pipes than a standard hand snake can reach, and there are several highly effective methods to clear it yourself without any professional help.
Quick Answer: If a drain snake will not reach your sink clog, try a boiling water and dish soap flush first, followed by a baking soda and vinegar treatment. If those do not fully clear the drain, manually removing and cleaning the P-trap under your sink solves the problem the majority of the time. For deeper or more stubborn blockages, a wet/dry vacuum or an enzyme drain cleaner will finish the job.
In this guide you will learn exactly why a drain snake sometimes misses the clog entirely, and you will get clear, detailed instructions for five proven methods to fix the problem yourself. You will also learn when the situation genuinely calls for a professional plumber, and what you can do every week to prevent this from ever happening again.
Why a Drain Snake Sometimes Cannot Reach the Clog
Before jumping into solutions, it helps to understand what is actually happening inside your pipes. A lot of homeowners assume that if the drain snake did not work, the clog must be extremely severe or in an inaccessible location. In reality, there are several very common and fixable reasons why a snake misses its target.
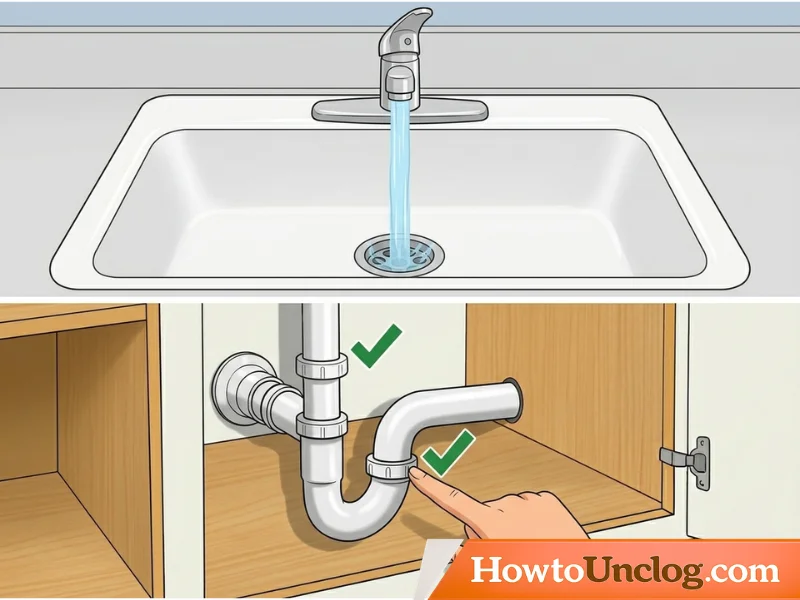
The clog is positioned just past the P-trap curve. The P-trap is the curved section of pipe directly under your sink, shaped like the letter U or P. That tight curve is specifically designed to hold water and block sewer gases from entering your home, but it also creates a bend that deflects a standard consumer-grade hand snake. The coil often pushes along the outer wall of the curve rather than continuing straight forward, meaning it never actually reaches a blockage that sits in the straight pipe section just beyond the bend.
The snake is simply not long enough. Most hand snakes sold at hardware stores are between 15 and 25 feet long. That sounds like a lot, but your sink drain connects to a network of pipes that runs horizontally through your walls and floors before joining the main drain line. A clog in a shared drain section or in the horizontal run inside the wall can sit well beyond the reach of a standard consumer snake.
The clog is soft and coated rather than solid. Drain snakes are designed to punch through or hook solid debris like a ball of hair or a chunk of food. What they are not effective at clearing is a soft, greasy coating that has built up gradually on the inner walls of the pipe over weeks or months. Cooking grease, soap scum, and toothpaste residue accumulate as a thick film rather than a solid plug. The snake passes right through the restricted area without grabbing or removing the buildup, and the drain remains slow or blocked.
There are multiple partial blockages spread along the pipe. A single snake insertion covers one path through the pipe. If there are two or three partial accumulations spaced a few feet apart, the snake may push through the first one and stop before reaching the others, or it may pass through all of them without grabbing enough material to make a meaningful difference in flow.
The snake is not making proper contact. Hand snakes require consistent rotation as they are being inserted. If the coil is not spinning continuously and with steady pressure, it tends to bunch up inside the pipe rather than extending forward. Many homeowners push the snake in too quickly without rotating, which causes it to fold back on itself inside the pipe and never actually reach the depth they think it has.
Understanding which of these situations applies to your specific clog will help you choose the right method from the five options below.
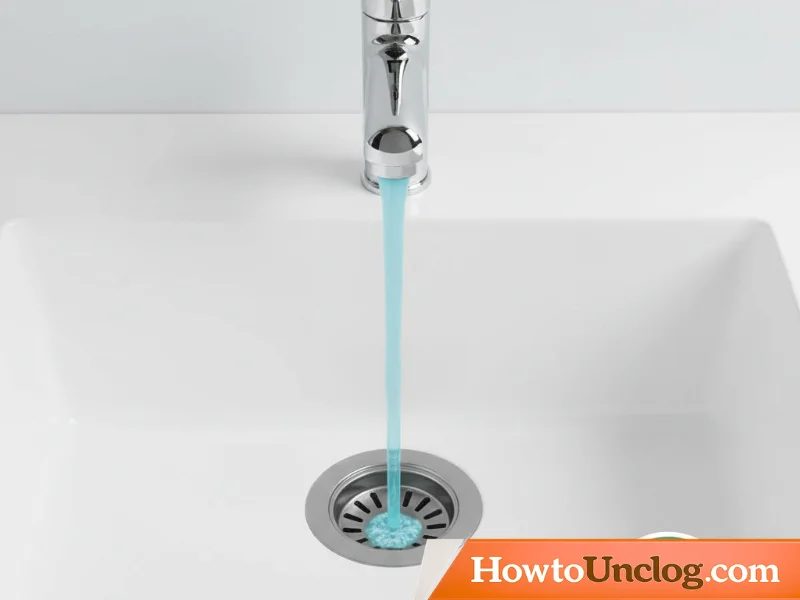
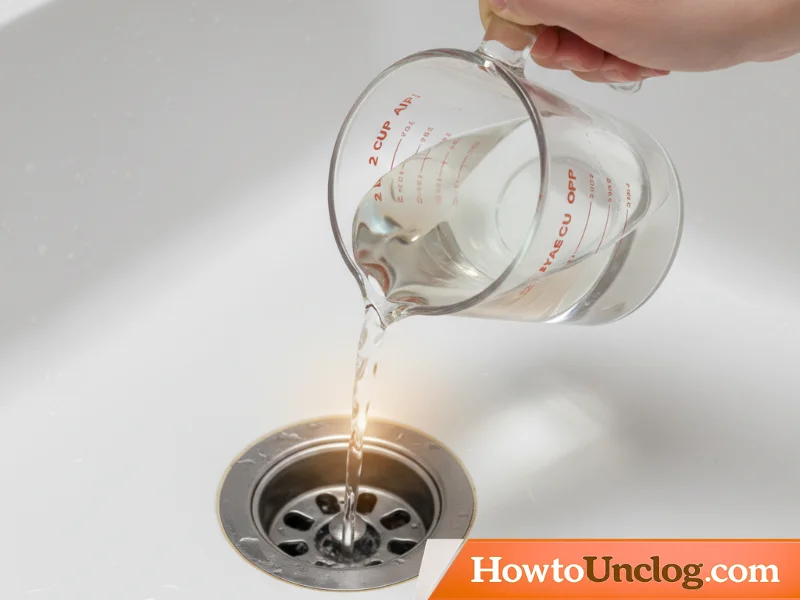
Method 1: Boiling Water and Dish Soap Flush
This is the simplest method and the one you should always attempt first before doing anything else. It requires no tools, no products to purchase, and takes less than 15 minutes from start to finish. Boiling water dissolves grease, melts soap scum, and breaks apart light organic debris, which are the most common causes of slow or blocked kitchen sink drains. The addition of dish soap acts as a lubricant and surfactant, coating the pipe walls and helping the loosened debris slide through and out of the system.
Time Needed: 10 to 15 minutes Difficulty Level: Easy Cost: Free, using items already in your home Best For: Grease buildup, soap scum, cooking oil accumulation, and light organic debris
What You Will Need
A large pot or electric kettle filled with water. Two to three tablespoons of standard dish soap. Hot tap water for the final flush at the end of the process.
Step-by-Step Instructions
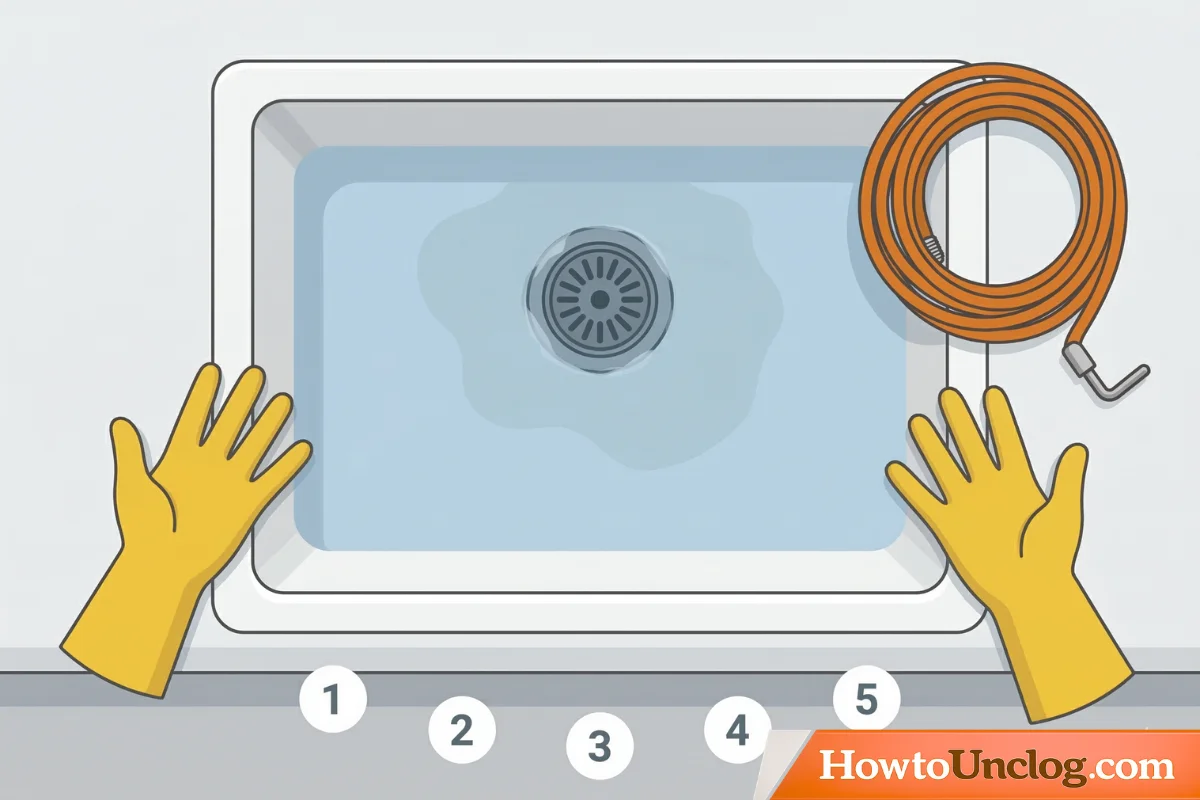
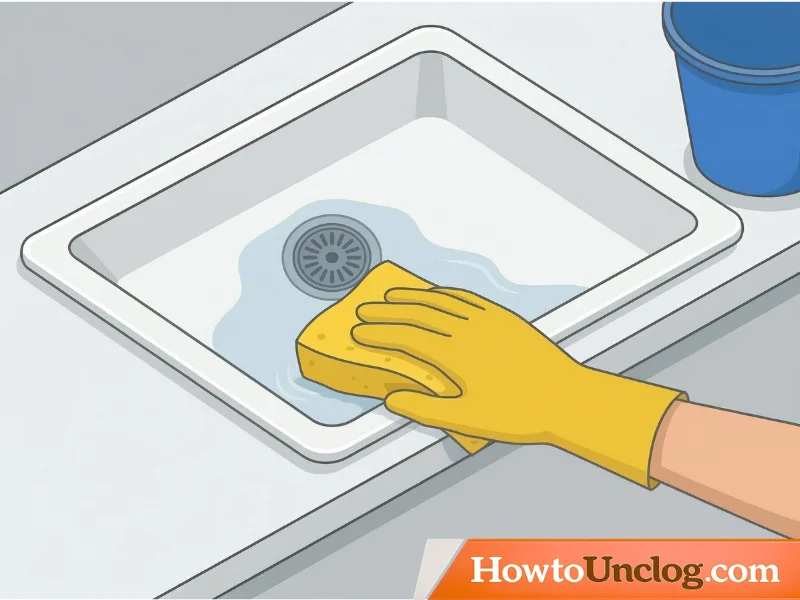
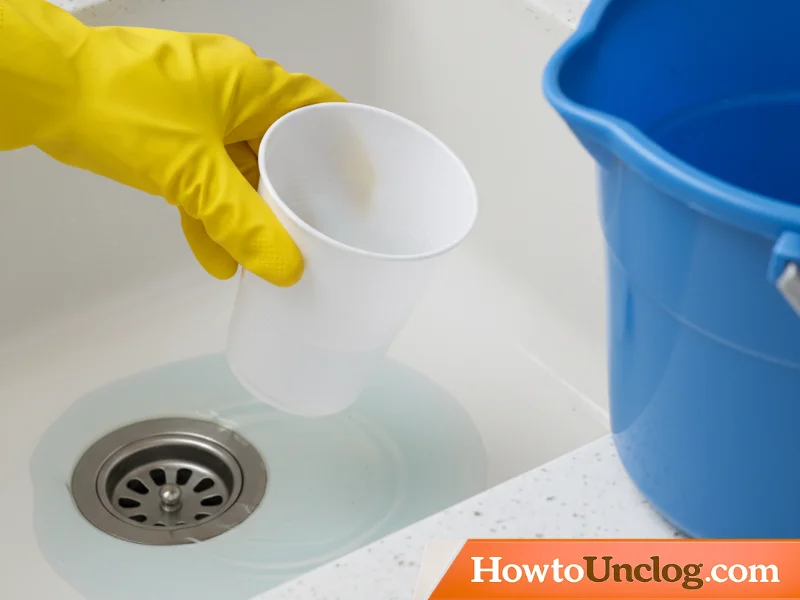
Step 1. Remove Standing Water From the Sink
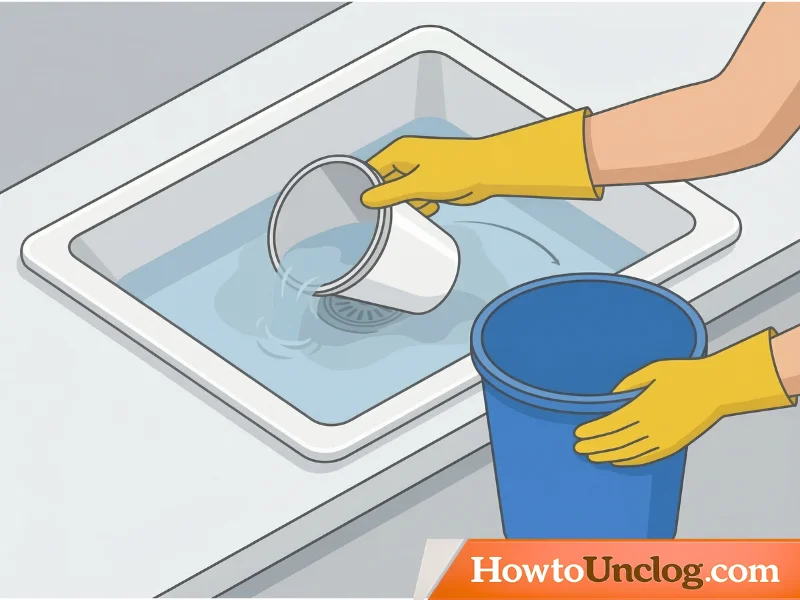
If there is standing water sitting in your sink basin, you need to remove it before starting this method. Use a large cup, a ladle, or a sponge to scoop or absorb as much water as possible and transfer it to a bucket or the toilet. You want the sink basin as empty as possible so that the boiling water you pour in goes directly down the drain rather than mixing with and cooling against a large volume of standing water.
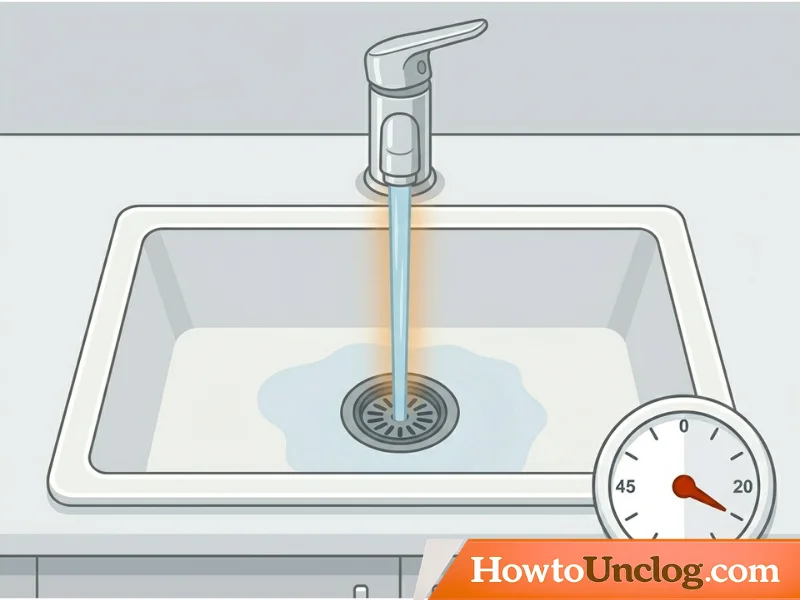
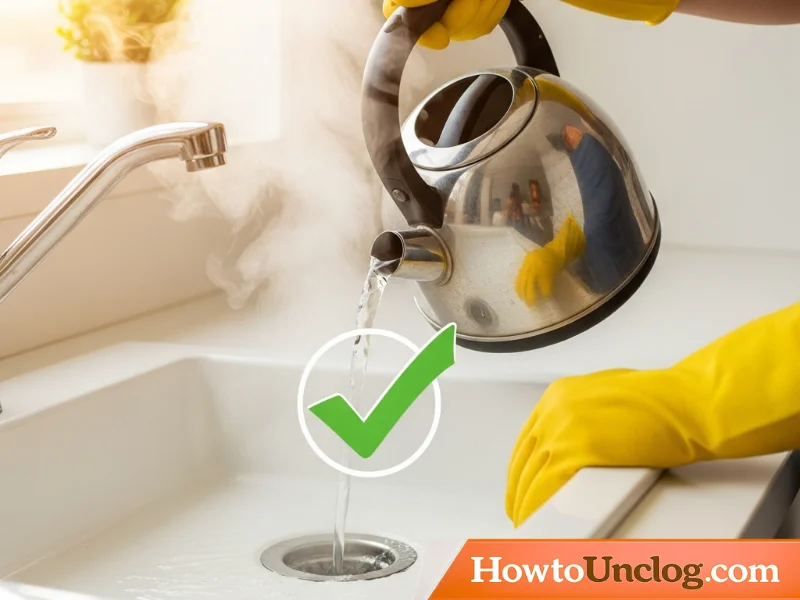
Step 2. Bring a Full Kettle or Large Pot of Water to a Boil
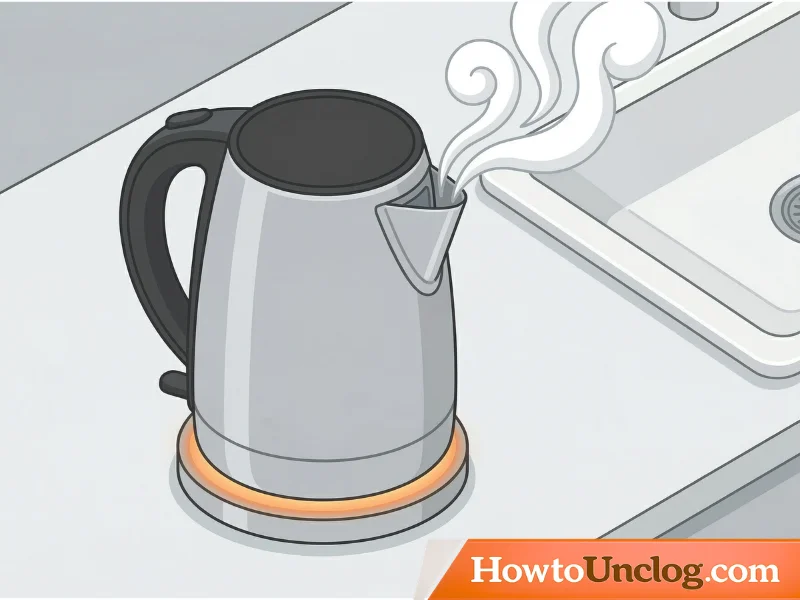
Fill your electric kettle or a large pot on the stove completely and bring it to a full rolling boil. You want as much volume as possible because a small amount of boiling water cools down too quickly when it contacts your pipes and loses much of its effectiveness before reaching the clog. A full kettle or a standard-size pot holds approximately one litre to one and a half litres, which is the right amount for this method.
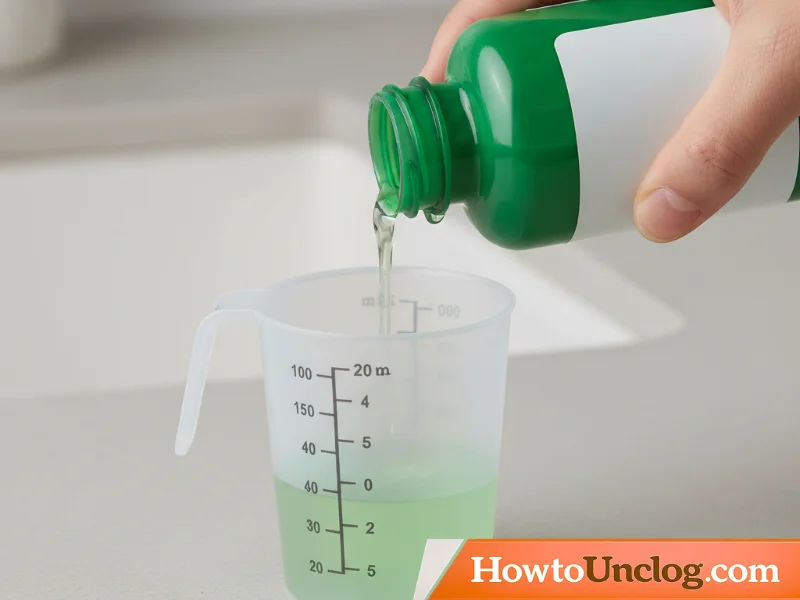
Step 3. Add Dish Soap Directly Into the Drain Opening
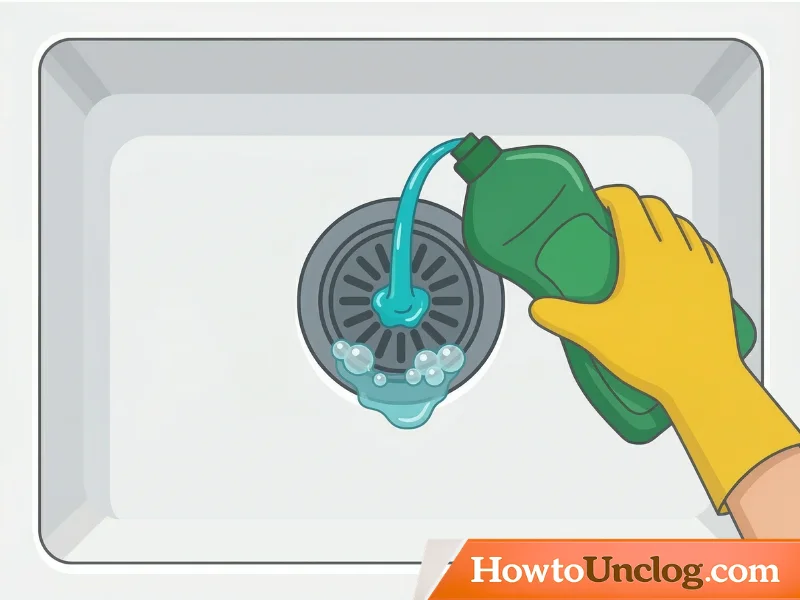
While the water is heating, squeeze two to three tablespoons of dish soap directly into the drain opening. Try to get it as far into the drain as possible rather than just onto the drain grate. The soap needs a moment to coat the inside of the pipe above the blockage, which is why you are adding it before the water rather than mixing it into the kettle. Standard dish soap works perfectly well for this. You do not need any specialty product.
Step 4. Wait 30 Seconds for the Soap to Settle
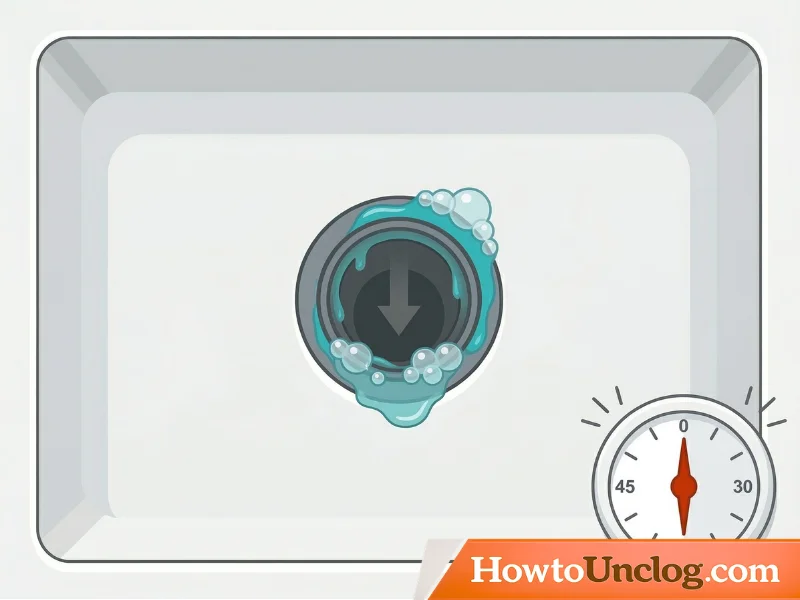
Give the soap 30 seconds to flow down from the drain grate and coat the upper section of the pipe. During this time the soap is working its way down toward the blockage and beginning to loosen the surface of the grease or soap scum coating.
Step 5. Pour the First Half of the Boiling Water Slowly and Steadily
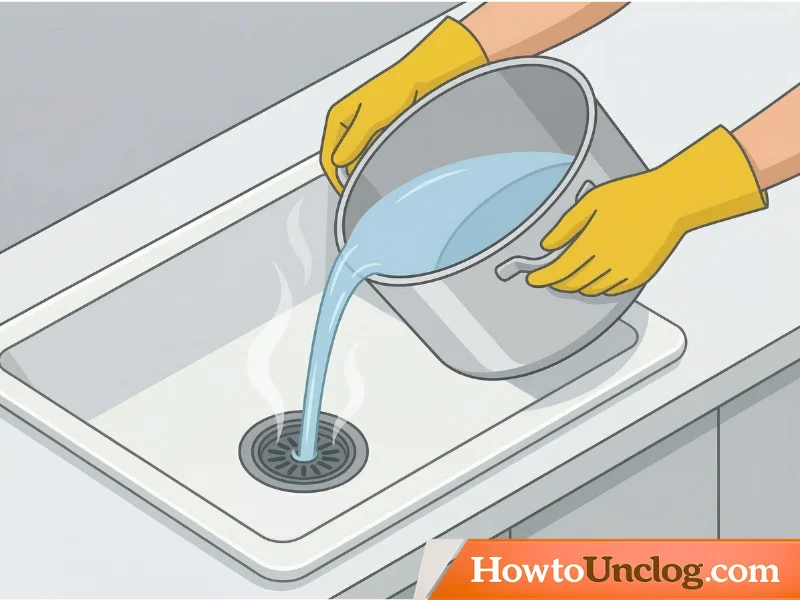
Take your kettle or pot to the sink and begin pouring the boiling water in a slow, controlled, steady stream directly into the drain opening. Do not dump the entire amount at once. A slow pour keeps the water as hot as possible as it travels through the pipe and gives it time to work on the clog rather than rushing past it. Pour approximately half the total volume, then set the container down.
Step 6. Wait 60 Seconds
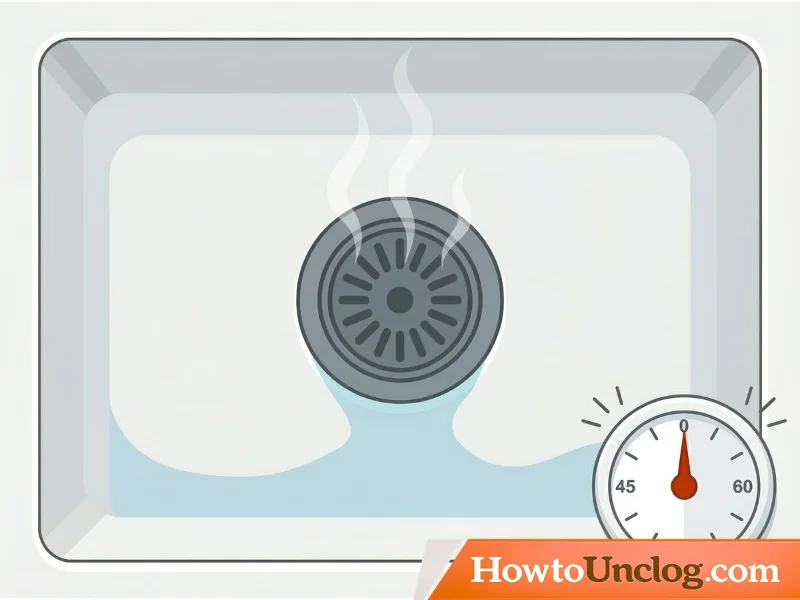
After pouring the first half, wait a full 60 seconds. During this time the heat is penetrating and softening the clog material. You may hear some gurgling from the drain, which is a positive sign that the water is working its way through. If the water you poured drained away during this pause, that is also a good sign.
Step 7. Pour the Remaining Boiling Water
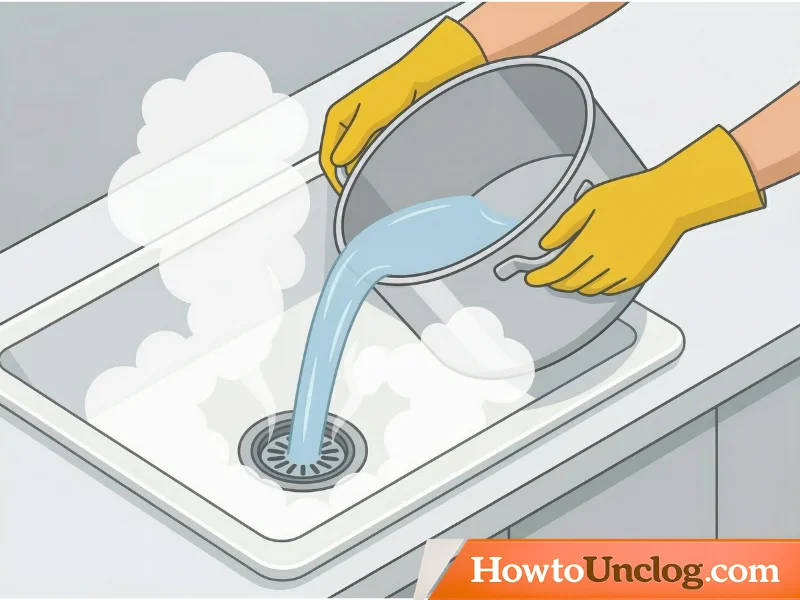
Pour the second half of the boiling water in the same slow, steady manner. This second pour pushes the loosened debris further down and out of the pipe while maintaining the heat treatment.
Step 8. Flush With Hot Tap Water for Two Full Minutes
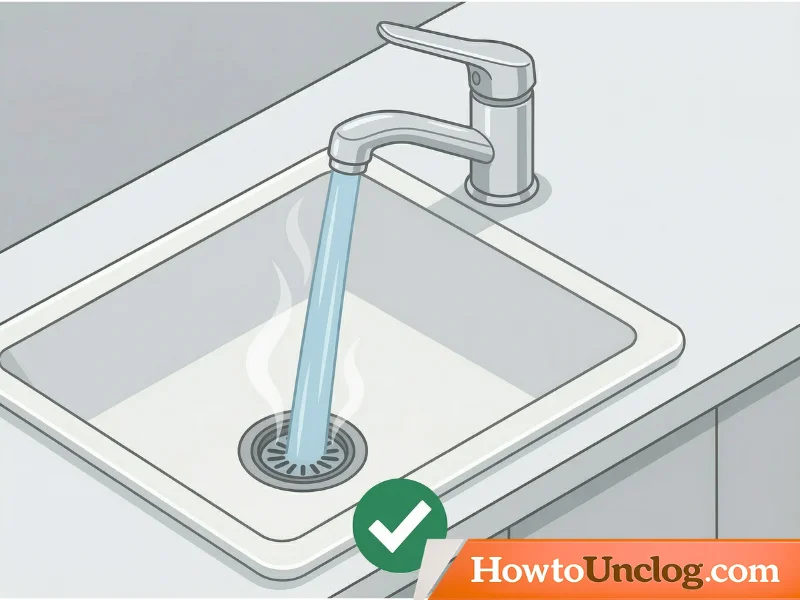
Turn your hot tap on to its highest temperature setting and let it run continuously for a full two minutes. This extended hot water flush washes all of the loosened grease, soap, and debris completely out of the P-trap and through the drain line so that none of it re-settles inside the pipe.
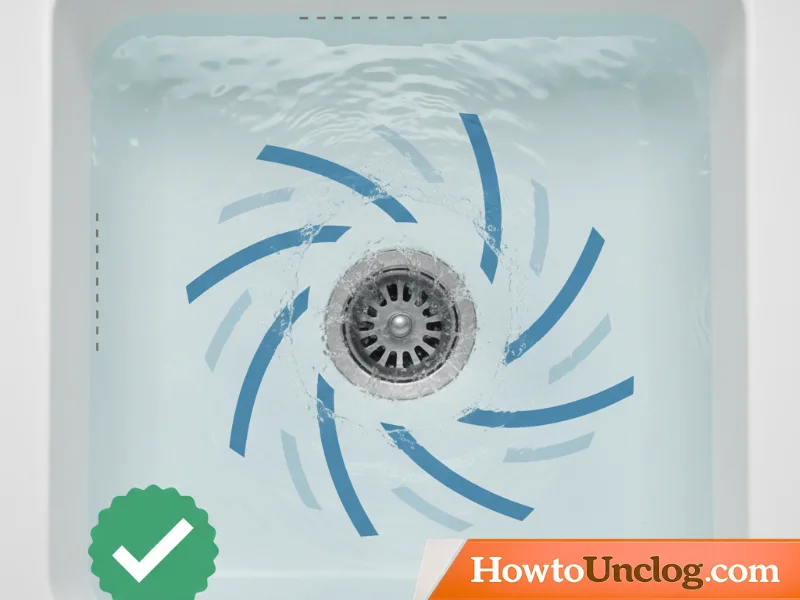
Step 9. Test the Drain
Turn the tap off and watch the drain. If it is flowing clearly and quickly, the method worked. If water is still draining slowly but has improved, repeat the entire process one more time before moving on to Method 2.
When This Method Works Best
This method is most effective on kitchen sinks where the primary cause of the clog is cooking grease, food oils, or soap scum from dish washing. It is less effective on bathroom sinks where hair is the main culprit, because hot water does not dissolve hair. If you have a bathroom sink clog with standing water that has not responded to this method, read our detailed guide on how to unclog a bathroom sink with standing water for targeted solutions specific to bathroom drain clogs.
Important Warnings
If your sink has a porcelain basin rather than stainless steel, do not pour the boiling water the instant it comes off the boil. Allow it to sit for two to three minutes first. Porcelain can crack from sudden thermal shock when extremely hot water contacts it. Similarly, if your pipes under the sink are older PVC plastic, water that is above 140 degrees Fahrenheit can potentially soften the joint connections over time. Letting the water cool for two to three minutes brings it to a temperature that is still highly effective on grease but gentler on your pipes.
Never use this method if you have recently poured a chemical drain cleaner into the sink. Boiling water can cause chemical drain cleaners to splash back violently and cause serious burns to your skin and eyes.
Method 2: Baking Soda and Vinegar Treatment
The baking soda and vinegar method creates a controlled chemical reaction inside your pipe that physically agitates and breaks apart organic clog material. When baking soda, which is a base, contacts vinegar, which is an acid, the two substances react and produce carbon dioxide gas rapidly. That gas expands inside the confined space of the pipe and creates pressure that dislodges buildup from the pipe walls. It is completely safe for all pipe types including PVC, copper, and old galvanised metal pipes, and it leaves no harmful residue.
Time Needed: 20 to 30 minutes including the wait time Difficulty Level: Easy Cost: Inexpensive, generally under two dollars using pantry items Best For: Soap scum buildup, grease coating, light hair clogs, and drain odours
What You Will Need
One full cup of plain baking soda. One full cup of standard white vinegar. A full kettle or pot of boiling water for the final flush. A drain stopper that fits your sink, or a tightly folded old rag large enough to plug the drain opening.
Step-by-Step Instructions
Step 1. Clear the Sink of Standing Water
Use a cup, ladle, or sponge to remove all standing water from the sink basin. The baking soda needs to go directly into the drain and contact the clog material rather than dissolving prematurely in a large volume of standing water. Getting the basin as dry as possible before you start significantly improves the effectiveness of this method.
Step 2. Pre-Wet the Drain With Warm Water
Run your hot tap for 15 to 20 seconds to send a small flow of warm water down the drain. This warm water pre-moistens the pipe interior and helps the baking soda adhere to the buildup on the pipe walls rather than just sitting dry in the pipe. Turn the tap off after 15 to 20 seconds.
Step 3. Pour the Baking Soda Into the Drain
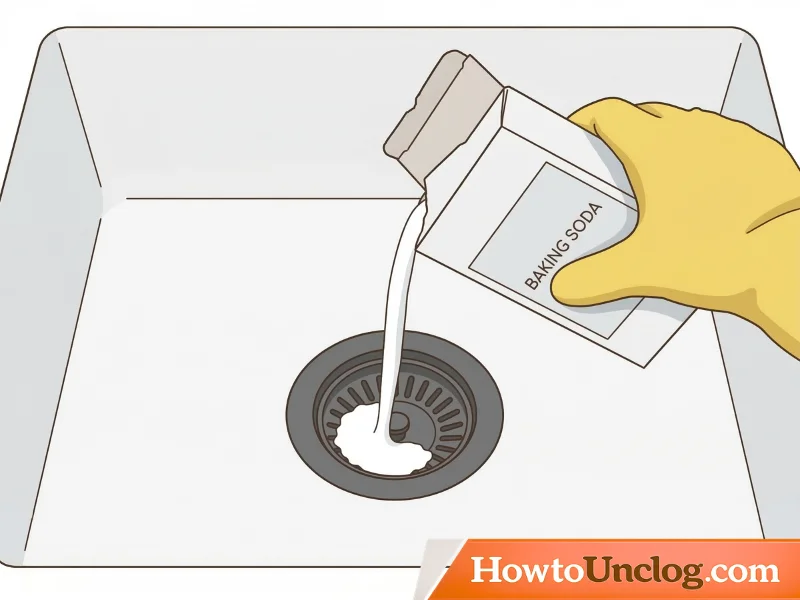
Measure out one full cup of baking soda and pour it slowly into the drain opening. Tip it in gradually rather than dumping it all at once, which allows the powder to fall into the pipe and coat the interior rather than piling up on the drain grate. If some of the baking soda sits on top of the grate rather than falling through, use a finger to push it through the openings. You want as much of the baking soda as possible to enter the pipe and contact the clog.
Step 4. Pour the Vinegar Immediately After the Baking Soda
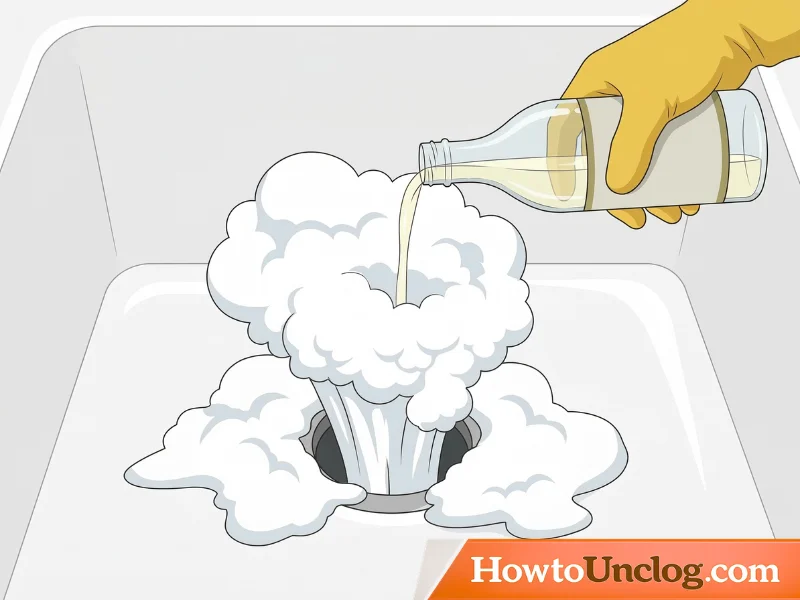
Without waiting, measure out one full cup of white vinegar and pour it directly into the drain after the baking soda. Pour it steadily and all at once. You will immediately hear and see the fizzing reaction begin. White foam will start rising back up through the drain opening. The more vigorous and sustained the fizzing, the better the reaction is working inside your pipe.
Step 5. Plug the Drain Immediately
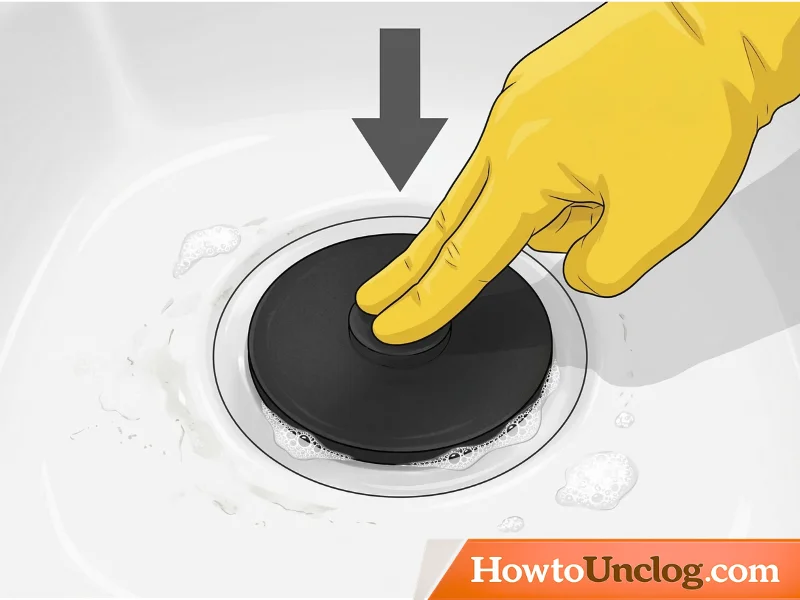
As soon as you finish pouring the vinegar, place your drain stopper or tightly packed rag firmly into the drain opening to seal it. This is a critical step that most people skip, and skipping it dramatically reduces the method’s effectiveness. When the drain is open, the carbon dioxide gas produced by the reaction simply escapes back up through the drain opening and dissipates into the air above the sink. When you plug the drain, you force that pressurised gas to expand deeper into the pipe toward and through the clog, which is where you actually need the agitation to occur.
Step 6. Wait a Full 20 Minutes
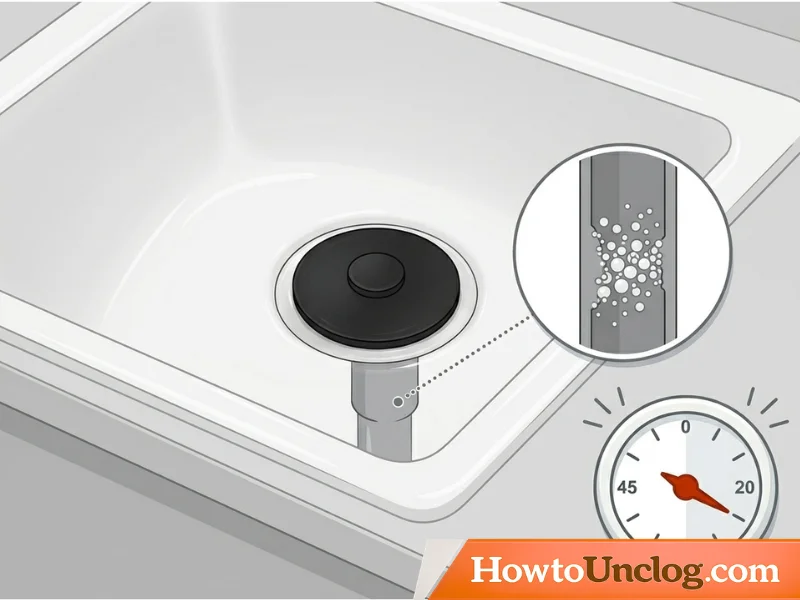
With the drain plugged, set a timer and wait a full 20 minutes. During this time the fizzing reaction continues inside the sealed pipe, the carbon dioxide pressure builds and works against the clog material, and the acidity of the vinegar begins to break down grease and soap scum chemically. For stubborn clogs that have been building up for months, you can extend this waiting period to an hour or even leave it overnight for a more thorough treatment.
Step 7. Remove the Plug and Flush With Boiling Water
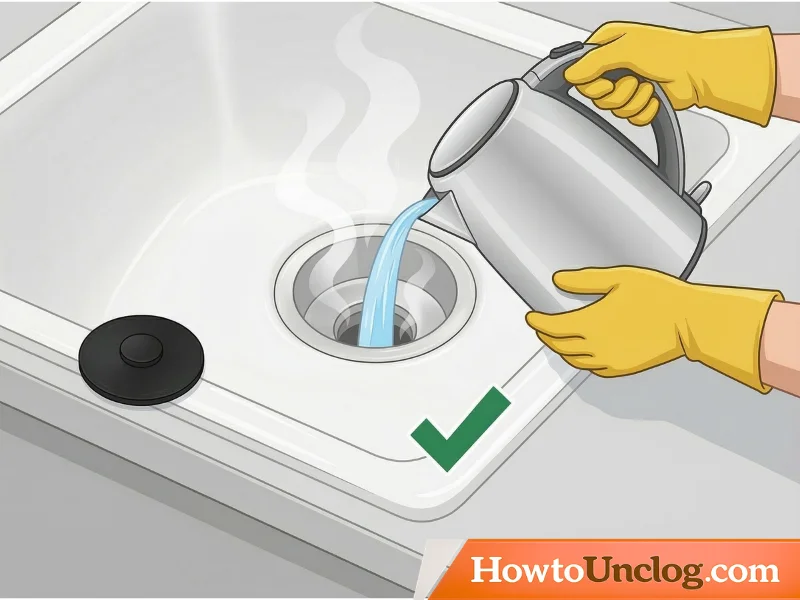
After the waiting period, remove the stopper or rag and immediately pour a full kettle of boiling water slowly and steadily down the drain. The boiling water washes away all of the loosened debris, dissolved soap scum, and reaction byproducts and pushes them completely out of the P-trap and through the drain line.
Step 8. Run Hot Tap Water and Test
Follow the boiling water flush with two minutes of the hottest water your tap produces. Then test the drain by filling the sink partway and watching how quickly it empties. If the drain is noticeably improved but still slightly slow, the treatment can be safely repeated a second time immediately.
When This Method Works Best
The baking soda and vinegar method is particularly effective on bathroom sinks where the clog is primarily composed of soap scum and hair, and on kitchen sinks where the slow drain is caused by a gradual grease film rather than a solid plug. It is also highly effective at eliminating drain odours even when there is no significant blockage present, making it a useful routine maintenance treatment to run monthly.
Important Warnings
Never use this method if you have poured any commercial chemical drain cleaner into the sink recently. Mixing baking soda and vinegar with chemical drain cleaners that contain lye, bleach, or sulfuric acid can produce chlorine gas or cause a violent chemical splashing reaction. If you have used a chemical drain cleaner in the past 48 hours, wait at least two full days before attempting this method and flush the pipe thoroughly with plain water first.
Method 3: Manual P-Trap Cleaning
This is the single most effective method for clearing a sink clog that a drain snake cannot reach, and it is the method that resolves the problem in the vast majority of cases. The P-trap is the curved section of pipe that sits directly below your sink drain inside the cabinet. Because of its U-shaped curve, it naturally collects and holds debris, hair, grease, and solid material that flows past the drain opening. Over time, this material accumulates until it restricts or completely blocks the flow of water.
The reason a drain snake often fails to clear a P-trap clog is that the coil gets deflected by the curve of the trap and pushes along the outer pipe wall rather than breaking through the debris sitting at the bottom of the curve. Physically removing the P-trap and cleaning it directly takes between 20 and 30 minutes, requires no prior plumbing experience, and solves the problem with certainty because you can see and physically remove the blockage rather than working blindly.
Time Needed: 20 to 30 minutes Difficulty Level: Medium, but entirely manageable for any homeowner Cost: Free for modern PVC P-traps that can be removed by hand Best For: Hair clogs, solid debris, and grease accumulation at the P-trap curve. This method works on both kitchen and bathroom sinks.
What You Will Need
A medium-to-large bucket or plastic storage container that fits inside your under-sink cabinet. Two or three old towels or rags to lay on the cabinet floor to catch drips. Rubber or latex gloves. Adjustable pliers or a pipe wrench, but only if your P-trap is made of older metal rather than modern PVC plastic. A thin wire bottle brush or an old toothbrush for scrubbing the inside of the trap. A flashlight or your phone’s torch function.
Step-by-Step Instructions
Step 1. Clear Out the Under-Sink Cabinet
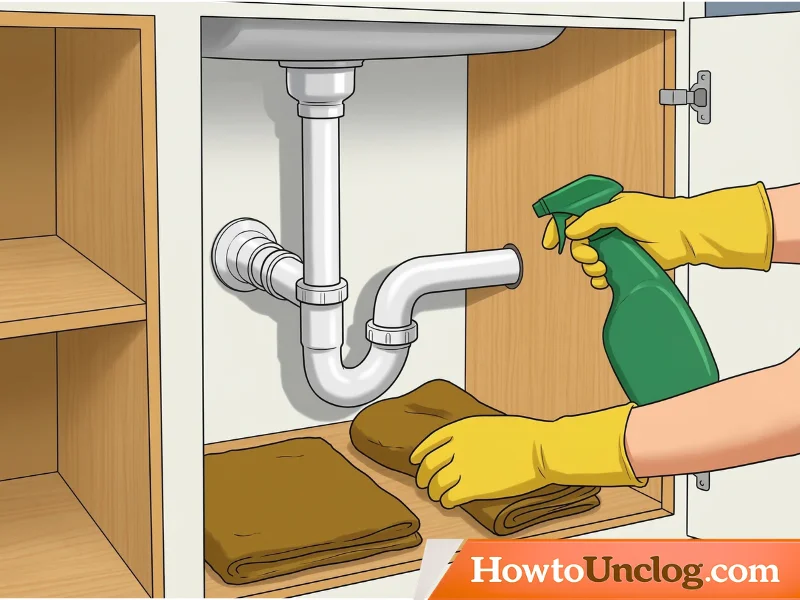
Open the cabinet below your sink and remove everything stored inside to give yourself full access and clear working space. Place an old towel or two on the cabinet floor beneath the pipe area to absorb any water that spills during the process.
Step 2. Locate and Identify the P-Trap
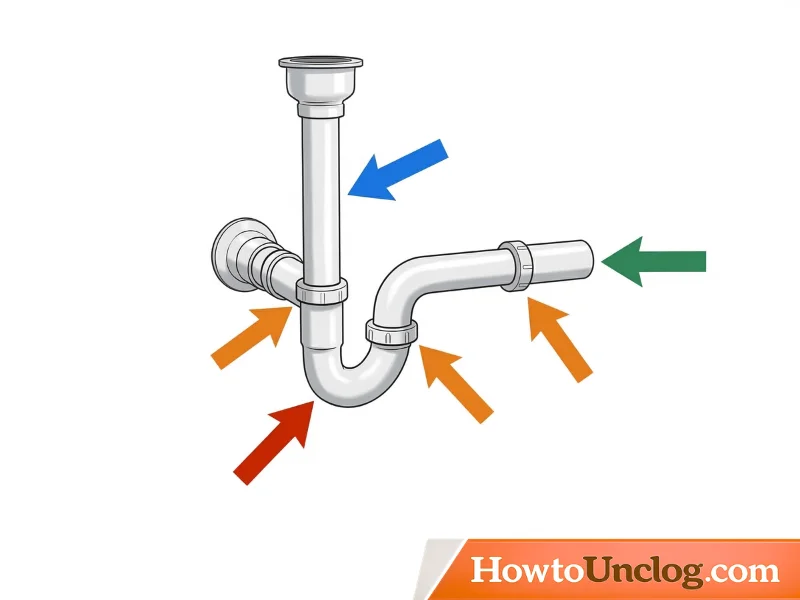
Look at the pipes running from the bottom of your sink drain. Directly below the drain you will see a vertical pipe called the drain tailpiece that drops straight down. This connects to the curved section called the P-trap, which bends back upward and then connects to the pipe running horizontally into the wall. The P-trap is easy to identify because of its distinctive curved shape. At each end of the curve where it connects to the adjacent pipes, you will see a threaded collar nut. These are the slip-joint nuts that hold the trap in place.
Step 3. Position the Bucket Directly Under the P-Trap
Place your bucket on the cabinet floor directly below the P-trap curve. When you remove the trap, all of the water sitting in the curve will pour out immediately, along with any accumulated debris. A P-trap holds approximately one to two cups of water at minimum, and it may hold significantly more if there is a partial blockage holding water higher up. Having the bucket perfectly positioned before you touch the nuts prevents this water from spilling onto the cabinet floor.
Step 4. Unscrew the Upper Slip-Joint Nut First
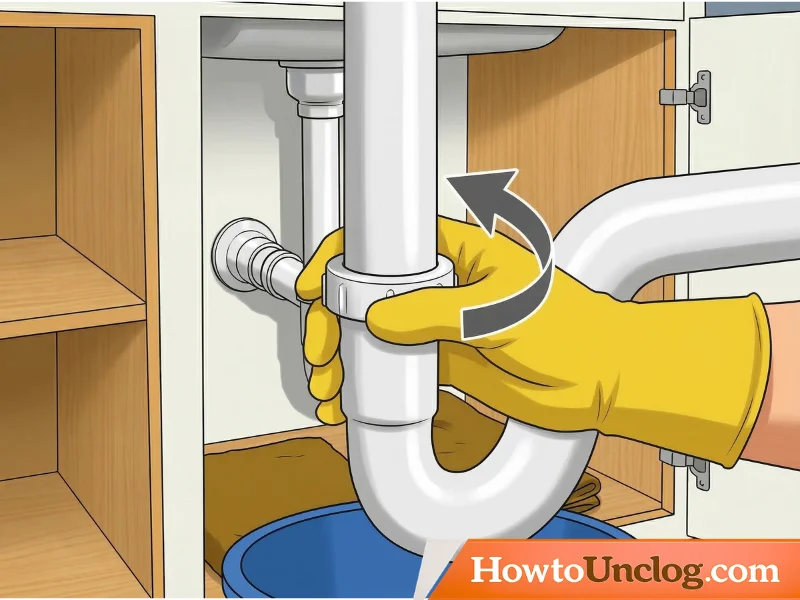
The upper slip-joint nut connects the P-trap to the vertical drain tailpiece coming down from the sink. Using both hands, grip this nut and turn it counterclockwise. On modern PVC plastic P-traps this nut should turn freely by hand with moderate effort. You do not need tools for PVC. If the nut is stiff, wrap a rubber band around it to improve your grip before applying more force. Continue turning until the nut is completely loose and slides along the pipe away from the joint.
Step 5. Unscrew the Lower Slip-Joint Nut
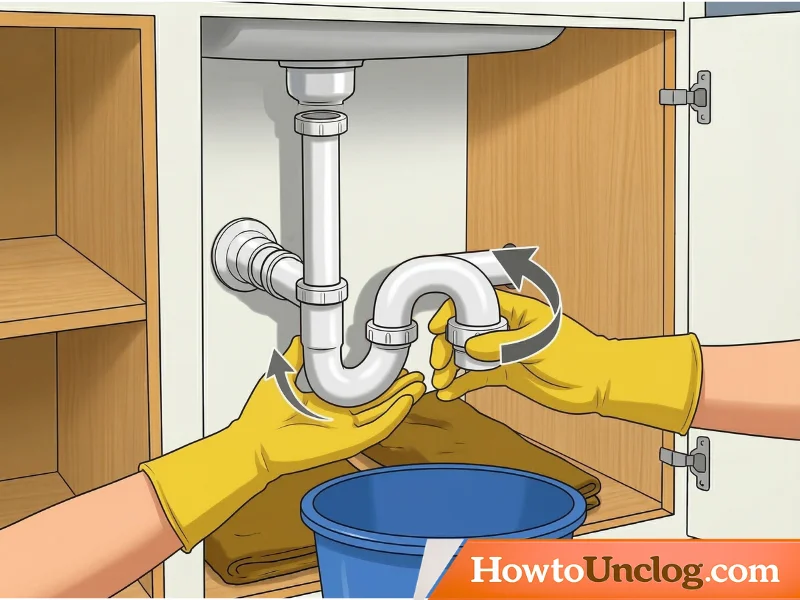
The lower nut connects the opposite end of the P-trap to the horizontal pipe running into the wall. Grip this nut with one hand while using your other hand to support the weight of the P-trap itself, because once this second nut is fully loosened the trap will be free and will fall if you do not hold it. Turn counterclockwise until fully loose.
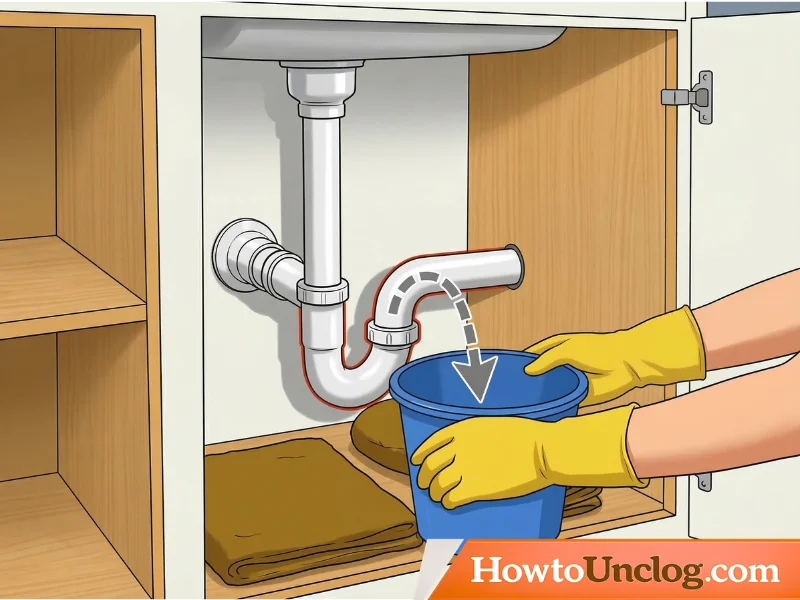
Step 6. Pull the P-Trap Down and Away From Both Pipes
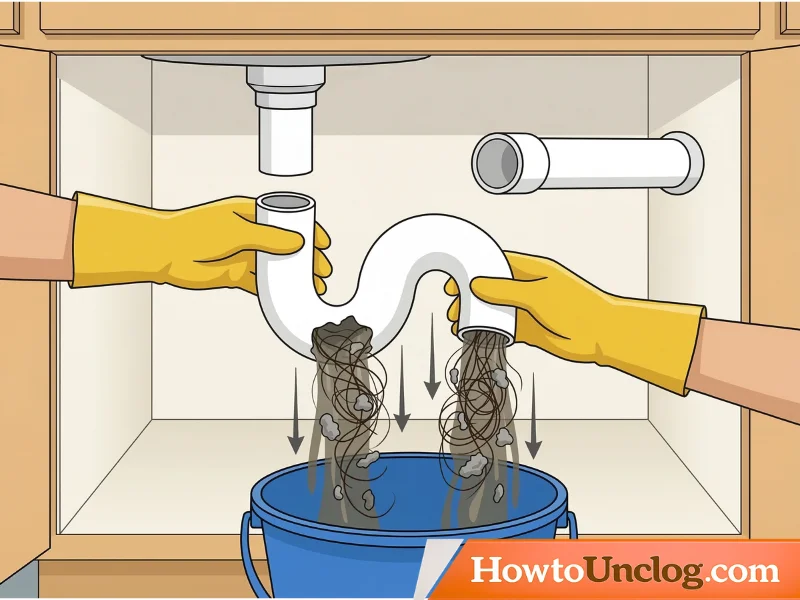
With both nuts loosened, lower the P-trap carefully down and away from both pipe connections. Direct the open ends toward the bucket as you lower it. Water, accumulated grime, and clog debris will pour out of both openings and into the bucket. You will likely see and smell exactly what has been blocking your drain. Hair, dark greasy sludge, soap residue, and food particles are the most common contents.
Step 7. Inspect the P-Trap Thoroughly
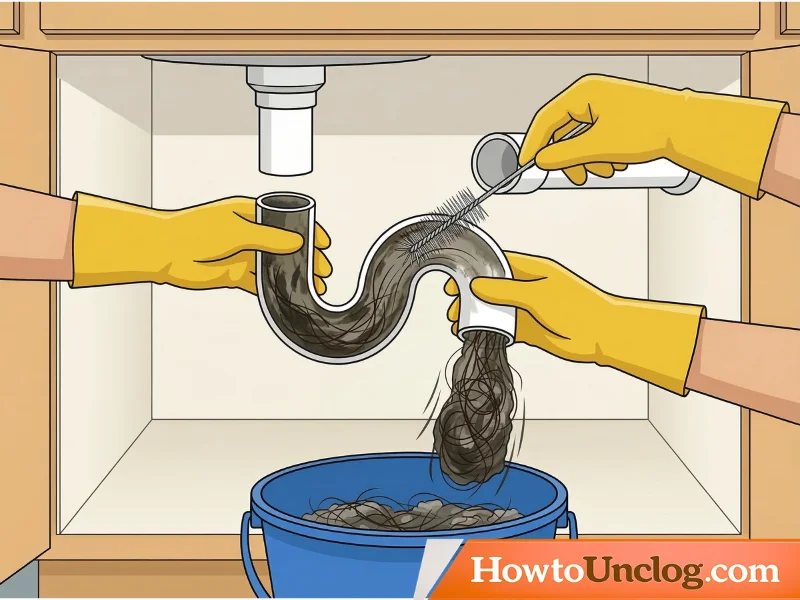
Hold the P-trap over the bucket and look inside both open ends. A common scenario is finding a compacted ball of hair and soap scum wedged inside the curve of the trap. Use your gloved fingers to pull out any solid debris you can reach. Then use your wire brush or old toothbrush to scrub the full interior of the trap, pushing the brush in from both ends and rotating it to dislodge and remove all buildup from the pipe walls.
Step 8. Rinse the P-Trap With Hot Water
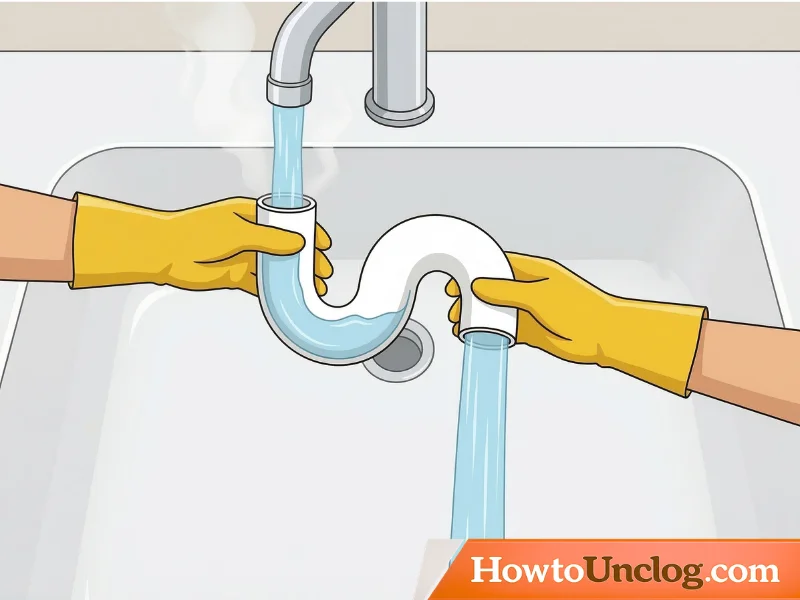
Take the cleaned P-trap to another sink or outdoors and rinse it thoroughly with hot running water. Push hot water through from both ends and visually confirm that water flows freely and completely clear through the entire curve of the trap before reinstalling it.
Step 9. Inspect the Wall Pipe Opening With a Flashlight
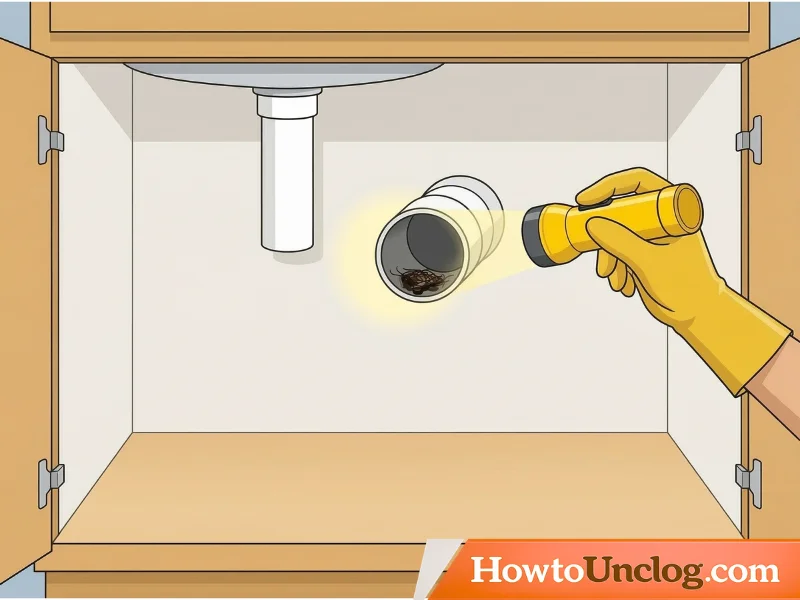
Before reinstalling the P-trap, take your flashlight and shine it directly into the horizontal pipe opening in the wall where the trap was connected. This is an opportunity to look inside the pipe section that your drain snake was trying but failing to reach. In many cases you will see a visible accumulation of debris just inside this opening. Use a gloved finger, a bent wire hook, or a short wire brush to pull out or break apart any material you can see or reach from this access point.
Step 10. Check and Replace the Rubber Washer Seals
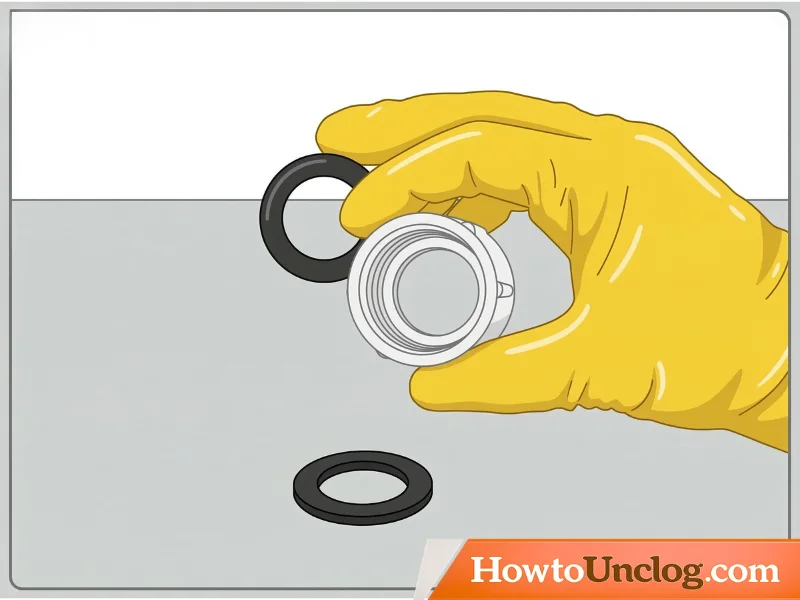
Each slip-joint nut has a small rubber or plastic washer inside it that creates the watertight seal when the joint is tightened. While the P-trap is out, slide the washers out of each nut and inspect them closely. If they look flattened, cracked, dried out, or have visible gaps or distortions, replace them before reinstalling. Replacement washers cost less than two dollars at any hardware store and come in standard sizes. Installing the trap with worn washers is a common cause of post-repair drip leaks under the sink.
Step 11. Reinstall the P-Trap
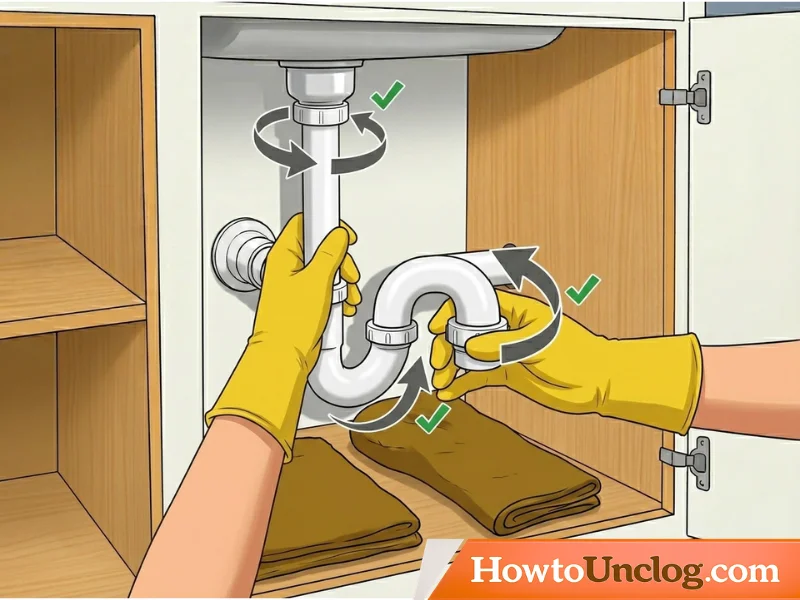
Hold the P-trap up into position and insert one end into the wall pipe stub while simultaneously aligning the other end below the drain tailpiece. Slide each slip-joint nut back over its respective joint and thread it clockwise by hand. Tighten each nut firmly by hand, then give it one additional quarter turn. For PVC P-traps this is sufficient. Over-tightening PVC slip-joint nuts is a very common mistake that cracks the plastic and creates leaks, so resist the urge to tighten further than hand-tight plus one quarter turn.
Step 12. Run Water and Check for Leaks
Turn your tap on fully and let it run for two to three minutes. While the water runs, watch each of the two slip-joint connections carefully for any dripping. A small amount of initial dripping that stops within a few seconds as the rubber washer seats itself is normal. Continuous dripping means one or both nuts needs to be tightened slightly more, or the washer needs to be reseated by removing and reinstalling the nut.
When This Method Works Best
Manual P-trap cleaning works best in all situations where the drain is completely blocked or extremely slow and other methods have failed. It is the correct first approach for any bathroom sink clog that involves hair, and it is equally effective for kitchen sinks with grease accumulation at the trap curve. Research and experience consistently show this method resolves the problem in approximately 80 percent of all cases where a drain snake could not reach the clog.
Important Warnings
Turn off the water supply valves under the sink before beginning, even though you will not be working on pressurised pipes. This is simply good practice and prevents anyone from accidentally turning on the tap while you are working. Always have the bucket fully positioned under the trap before you loosen the first nut. Even experienced plumbers get caught by the volume of water that rushes out the moment the second nut is removed.
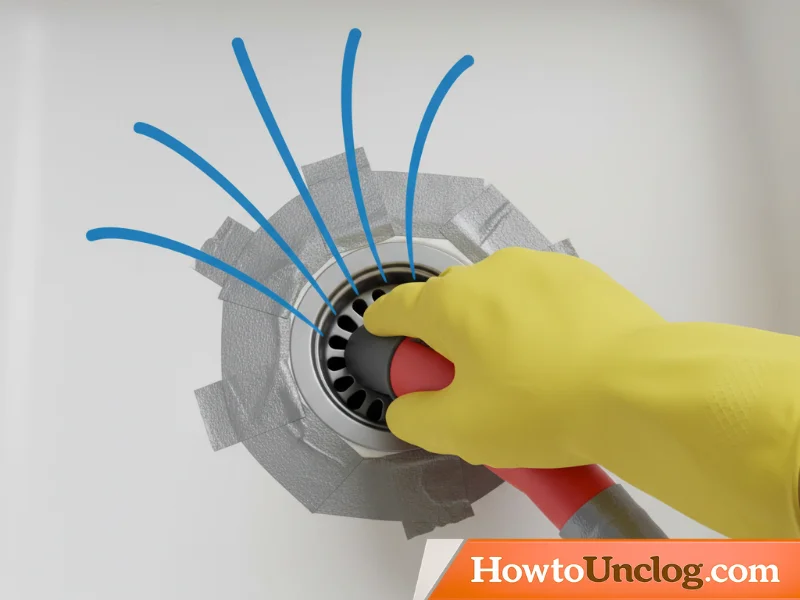
Method 4: Wet and Dry Vacuum Method
A wet and dry shop vacuum generates substantially more suction than a standard household vacuum and can physically pull a clog backward up through the drain pipe rather than trying to push it further down. This approach is particularly useful for clogs involving solid or semi-solid material that is lodged just below the drain opening or just past the P-trap in the section a hand snake cannot reach.
Time Needed: 10 to 15 minutes Difficulty Level: Easy Cost: Inexpensive. Requires a wet and dry vacuum, which can be rented from most hardware stores for approximately twenty dollars per day if you do not own one. Best For: Solid debris clogs, compacted hair masses, and objects accidentally dropped into the drain
What You Will Need
A wet and dry shop vacuum with a standard hose attachment. An old rag, a large damp sponge, or a folded towel. Duct tape for optional use in improving the hose-to-drain seal.
Step-by-Step Instructions
Step 1. Set the Vacuum to Wet Mode
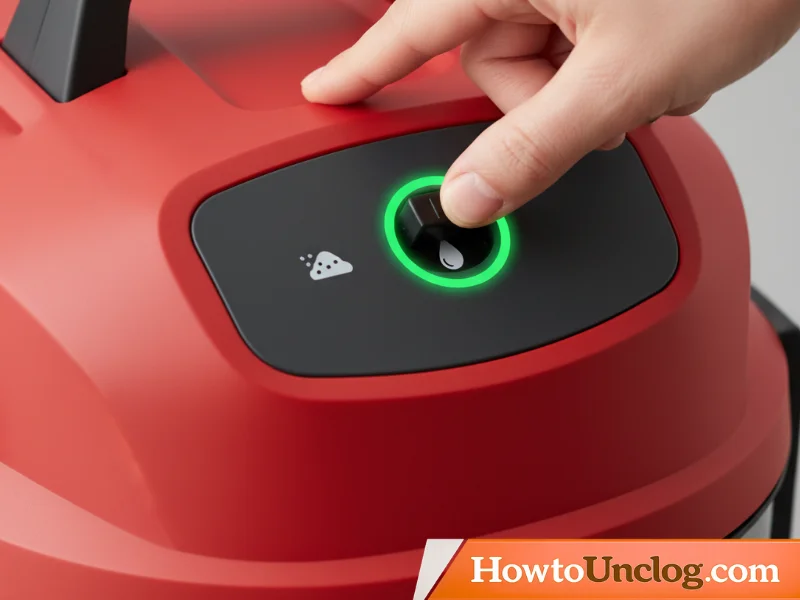
Locate the filter switch or wet mode selector on your shop vacuum and ensure it is configured correctly for liquid pickup. Running a shop vacuum in dry mode while it contains liquid will damage the motor. Consult your vacuum’s manual if you are unsure how to switch modes. In wet mode the vacuum is designed to safely pull water and liquid-saturated debris through the hose.
Step 2. Remove the Drain Stopper or Strainer
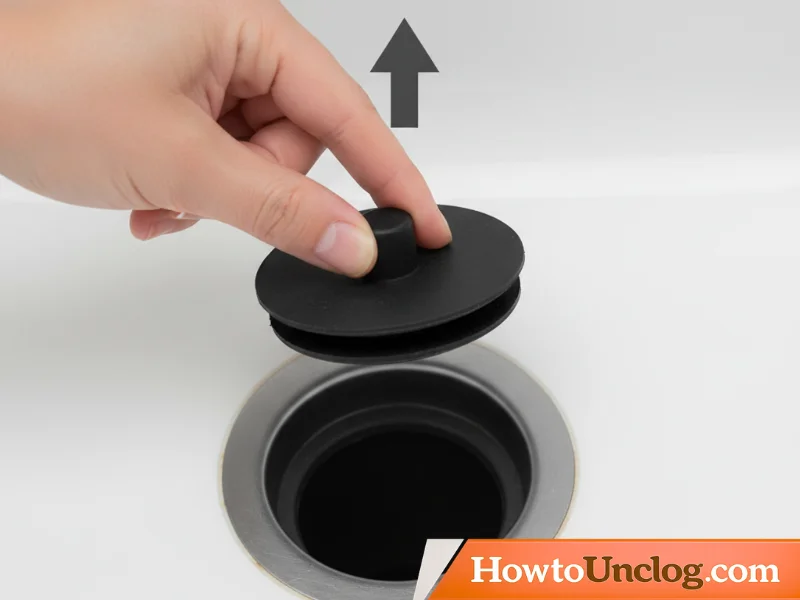
Pull out or unscrew the drain stopper or strainer cover from your sink. You need direct, unobstructed access to the drain opening so the vacuum hose can make contact as close to the pipe entrance as possible. Set the stopper aside where it will not get in the way.
Step 3. Locate and Block the Sink Overflow Hole
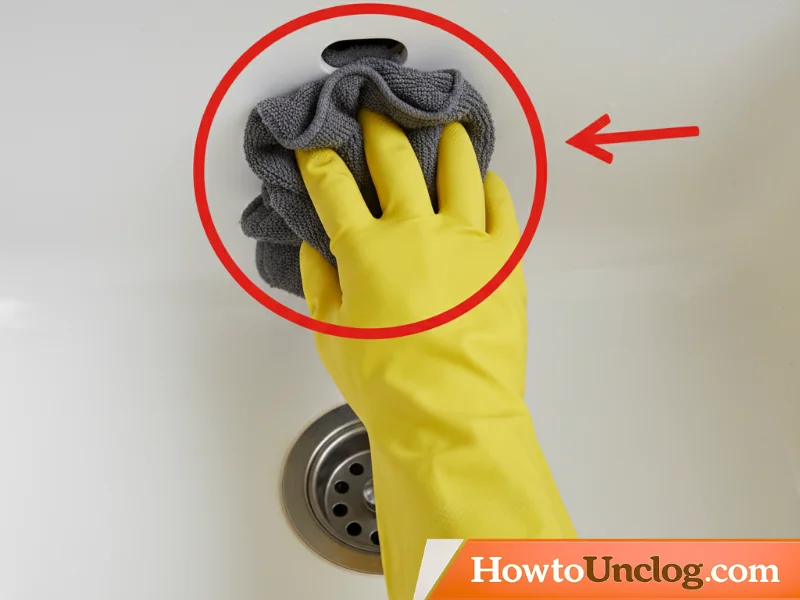
This step is the single most important part of the entire method, and it is the step most commonly skipped by people who then wonder why the vacuum had no effect. Your sink has a small overflow hole, typically located on the interior wall of the basin near the top rim on the side facing you. This hole is a safety feature that allows water to drain if the sink fills past a certain point, but it also creates a secondary air pathway into the drain pipe. When you apply vacuum suction to the drain opening with the overflow hole uncovered, air rushes in through the overflow hole and completely equalises the pressure, giving you zero suction at the actual clog location. Cover the overflow hole completely with a thick wet rag or damp sponge pressed firmly against it and hold it there for the entire duration of the vacuum treatment.
Step 4. Create the Tightest Possible Seal Between the Hose and the Drain
Press the end of your shop vacuum hose directly over the drain opening. You want the tightest possible seal between the outer edge of the hose end and the sink surface around the drain. For a better seal, wrap several layers of duct tape around the outside of the hose end to build up its diameter and fill any gaps between the hose and the drain opening. The better this seal is, the more suction force reaches the clog rather than being lost around the edges.
Step 5. Turn the Vacuum to Maximum Suction and Run for 30 to 60 Seconds
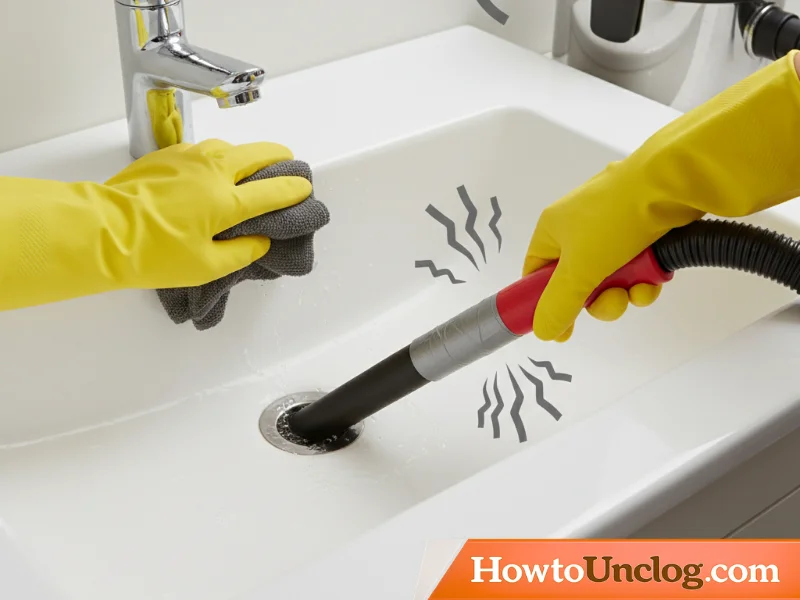
With the overflow hole blocked and the hose sealed over the drain, turn the vacuum on to its highest suction setting. You should feel the hose tighten against the drain as suction builds. Run it continuously for 30 to 60 seconds. Keep firm downward pressure on the hose and firm pressure on the overflow hole rag throughout.
Step 6. Turn Off the Vacuum and Test the Drain
Turn off the vacuum and remove the hose. Turn your tap on to a moderate flow and watch how the drain responds. If the clog has been pulled free, you will see immediate and noticeably improved drainage. If drainage is slightly improved but still restricted, repeat the vacuum treatment one or two more times before concluding that a different method is needed.
Step 7. Open and Inspect the Vacuum Canister
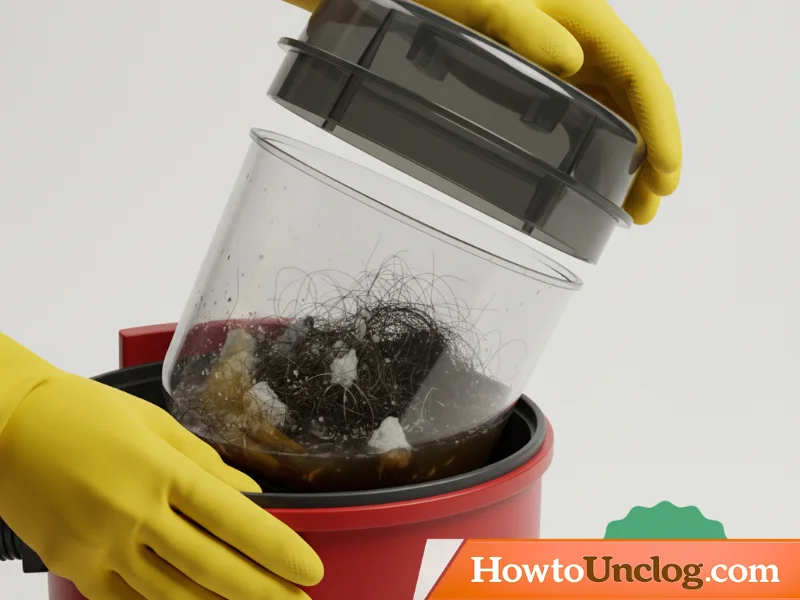
Detach the vacuum canister and look inside. In successful cases you will often find a visible mass of hair, debris, or grease in the canister that was pulled up out of the drain pipe. Finding this material is confirmation that the method worked and your clog has been physically removed.
When This Method Works Best
The vacuum method produces the best results when the blockage is a relatively compact solid mass rather than a diffuse grease coating. It is particularly effective when a small object has been accidentally dropped into the drain, or when a dense ball of hair is lodged just past the P-trap. If this method dislodges a clog but does not fully clear the drain, follow up immediately with Method 3 (P-trap cleaning) because the displaced debris may have settled in the trap curve.
Important Warnings
Never use the overflow hole blocking step with a dry-mode only vacuum, and never attempt to use a standard household vacuum for this method. Only a wet and dry rated shop vacuum is safe for liquid and semi-liquid drain suction. Ensure all connections on the vacuum are properly sealed before operating to prevent liquid from reaching the motor housing.
Method 5: Enzyme Drain Cleaner for Deep Pipe Buildup
When the clog is located deep in the pipe system beyond where you can physically reach with any of the above methods, enzyme-based drain cleaners offer a safe and effective solution. Unlike caustic chemical drain cleaners that rely on corrosive acids or alkalis to dissolve material, enzyme drain cleaners use concentrated colonies of beneficial bacteria and the enzymes they produce to biologically digest organic matter inside the pipe. The bacteria feed on grease, food particles, soap scum, hair, and other organic debris, breaking them down into simple water-soluble compounds that flush away easily.
Time Needed: 5 minutes of active work plus 6 to 8 hours of waiting time Difficulty Level: Easy Cost: Moderate, typically between 10 and 25 dollars for a quality product Best For: Deep grease accumulation, soap scum coating throughout a long pipe section, and organic matter buildup in shared or main drain lines
What You Will Need
An enzyme-based drain cleaner product. Look for products that contain live bacterial cultures and specify enzyme activity on the label. A measuring cup. Two cups of warm water at approximately room temperature.
Step-by-Step Instructions
Step 1. Clear the Sink of Standing Water
Remove all standing water from the sink basin before applying the enzyme cleaner. Enzyme bacteria need to make direct physical contact with the organic material in the clog to digest it. A large volume of standing water dilutes the product significantly and prevents it from concentrating at the blockage. Use a cup or sponge to clear the basin as thoroughly as possible.
Step 2. Check the Water Temperature in the Pipe
Enzyme cleaners contain living bacterial cultures that are sensitive to temperature extremes. Run your tap briefly and note whether the water coming from the pipe is unusually cold. If it is winter and your pipes are below approximately 50 degrees Fahrenheit, allow warm water to run for a minute or two before applying the product. Warm pipe walls allow the bacterial cultures to activate and reproduce more effectively. Conversely, do not use very hot or boiling water to flush the product down, as high temperatures kill the bacteria.
Step 3. Measure the Product Carefully
Read the product instructions and measure the recommended dose precisely. Most enzyme drain cleaner products recommend between 4 and 8 fluid ounces for a single sink treatment. More product is not necessarily more effective because the bacteria need time to establish and reproduce regardless of the initial dose. Using significantly more than recommended is wasteful and provides little additional benefit.
Step 4. Pour the Enzyme Cleaner Slowly Into the Drain
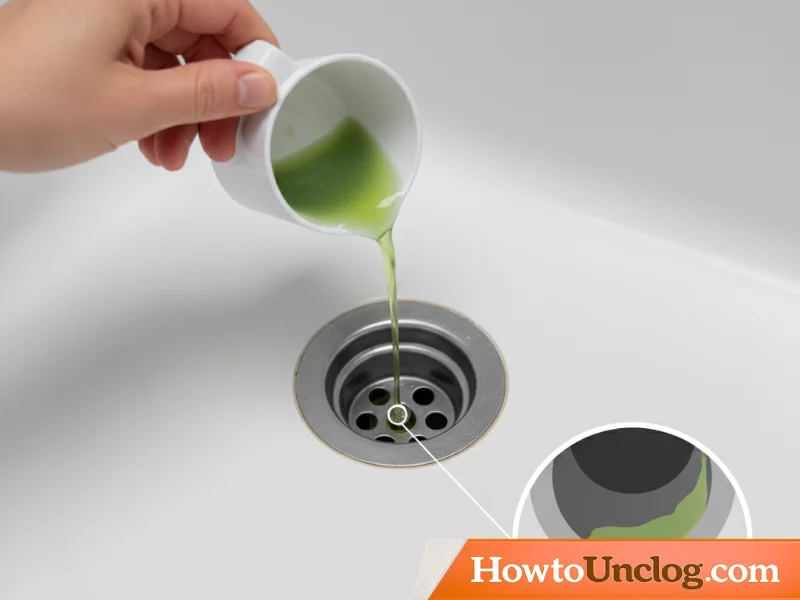
Pour the measured enzyme cleaner in a slow, steady stream directly into the drain opening. A slow pour allows the bacteria-rich formula to coat the upper section of the pipe interior as it descends rather than rushing straight through without making contact with the pipe walls. This coating effect is important because grease-coated pipe walls are exactly where you want the bacteria to establish themselves.
Step 5. Follow With Two Cups of Warm Water
After the enzyme cleaner, slowly pour two cups of warm water down the drain. This carries the enzyme solution deeper into the pipe toward the blockage and beyond, seeding the entire pipe section with bacterial cultures. Use warm water, not hot and not boiling. Water above 140 degrees Fahrenheit will kill the bacteria before they have a chance to work.
Step 6. Do Not Use the Sink for a Minimum of 6 to 8 Hours
This is the most important step and the one people are most likely to violate. The enzyme bacteria need continuous, undisturbed time to colonise the organic material in the clog and begin digesting it. Every time you run water down the drain during the treatment period, you flush away a portion of the bacterial colony before it has had time to grow and work. For the best results, apply the treatment last thing at night and leave the sink completely unused until morning. If you have only one sink in your home and need to use it, plan accordingly.
Step 7. Flush Thoroughly With Hot Water in the Morning
After the full waiting period, run a full kettle of hot water followed by three to five minutes of the hottest tap water you have. This hot water flush washes away all of the digested debris, dissolved material, and bacterial byproducts that have accumulated overnight, leaving the pipe clean and clear.
Step 8. Test and Repeat if Necessary
Test the drain by filling the sink partway and observing the drain rate. If it flows clearly, the treatment was successful. If there is still some restriction, a second treatment the following night is entirely safe and often necessary for clogs that have been building up for a long time. Severe organic buildup may require three to four consecutive nightly treatments before it is fully cleared.
When This Method Works Best
Enzyme cleaners excel on organic blockages that are spread over a long section of pipe rather than concentrated at a single point. They are ideal for situations where the drain has been slowing gradually over a period of weeks or months, indicating progressive buildup along the pipe walls rather than a single obstruction. They are not effective on inorganic blockages such as mineral deposits, broken pipe pieces, or accidentally dropped objects.
Important Warnings
Do not use enzyme drain cleaners within 24 hours of using any chemical drain cleaner product. The residual chemicals from products containing lye, bleach, or acid will kill the enzyme bacteria on contact, making the product completely ineffective. If you have recently used a chemical product, flush the pipes thoroughly with plenty of plain water over a 24-hour period before applying the enzyme treatment.
Enzyme cleaners are completely safe for all pipe materials including PVC, copper, cast iron, and old galvanised steel. They are also the only drain treatment that is safe for use in homes with septic systems, as the beneficial bacteria they introduce actually support the function of a healthy septic tank rather than harming it.
When to Call a Professional Plumber
The five methods above will resolve the vast majority of sink clogs, including those where a drain snake could not reach. However, certain warning signs indicate that the problem is more serious than a localised pipe blockage and requires professional equipment and diagnosis.
Call a licensed plumber when multiple drains in your home are slow or backing up at the same time. A single slow drain is a localised problem in that drain’s pipe. When two or more drains, particularly those in different rooms, are all slow or blocked simultaneously, the problem is almost certainly in the main sewer line that all your individual drain lines feed into. Main sewer line blockages cannot be cleared with any of the above methods and require a professional-grade power auger or hydro-jetting equipment.
Call a plumber when you hear gurgling sounds from unrelated drains. If running your kitchen sink causes gurgling or bubbling sounds from your bathroom drain, toilet, or floor drain, that is a strong indication of a partial blockage in the main sewer line. The gurgling is caused by air being forced through water sitting above the partial blockage in another section of the system.
Call a plumber when water backs up into a different fixture. If running your bathroom sink causes water to appear in your bathtub drain or toilet bowl, the entire drain system below that point is blocked and requires immediate professional attention.
Call a plumber when the clog returns within days after clearing. A clog that reforms within a few days of being cleared usually indicates structural damage to the pipe, such as a collapsed section, a severe scale buildup that has narrowed the pipe diameter, or tree root intrusion into an outdoor drain line. A drain camera inspection will identify the exact location and nature of the problem.
Call a plumber when you detect sewage odours throughout more than one area of your home. Persistent sewage smells suggest that water is not flowing properly through the trap system or that there is a breach somewhere in the drain line. This is both a plumbing problem and a health concern that should be addressed promptly.
A professional plumber typically charges between 150 and 350 dollars to clear a standard drain blockage with a power auger. Hydro-jetting, which uses high-pressure water to scour the interior of the entire pipe clean, typically costs between 300 and 600 dollars but provides a much more thorough result for pipes with severe long-term buildup.
Prevention Tips: Stop the Next Clog Before It Starts
The most effective way to deal with a sink clog that a drain snake cannot reach is to prevent that clog from ever forming in the first place. The following habits address the root causes of the most common types of deep pipe blockages.
Run hot water after every use of the kitchen sink. After washing dishes, cooking, or rinsing food-prep items, run your hot tap at full temperature for a full 60 seconds. This pushes any grease or oil that entered the drain forward through the P-trap and into the main drain line before it has a chance to cool, solidify, and adhere to the pipe walls. This single habit prevents the majority of kitchen sink clogs.
Install and use a mesh drain strainer in every sink. A fine-mesh strainer placed over the drain opening catches hair, food particles, and debris before they enter the pipe. This is especially important in bathroom sinks and shower drains where hair is the primary cause of clogs. Empty and clean the strainer every day or two.
Never pour cooking grease, oil, or fat down the sink drain. This cannot be overstated. Cooking fats and oils are liquid when hot but solidify into a waxy, adhesive substance as they cool inside your pipes. A single pour of bacon grease can create the beginning of a grease blockage that grows over time and eventually causes a complete stoppage. Pour used cooking fat into a sealable container and dispose of it with your solid household waste instead.
Run a baking soda and hot water maintenance treatment monthly. Once a month, pour half a cup of baking soda down each of your sink drains followed immediately by a full kettle of hot water. This simple treatment flushes out light soap scum and grease accumulation before it becomes a significant buildup, and it takes less than two minutes per sink.
Use an enzyme drain cleaner as a monthly maintenance dose. A half-dose of enzyme drain cleaner applied monthly maintains a colony of drain-cleaning bacteria inside your pipes at all times. These bacteria continuously digest organic material as it accumulates, preventing it from ever building up to the point of causing a blockage. This is particularly beneficial in kitchen sinks and in homes with older pipes that have rougher interior surfaces where grease tends to adhere.
Do not treat your kitchen drain as a food waste disposal if you do not have a garbage disposal unit. Coffee grounds, eggshells, pasta, rice, and starchy vegetables should go in the bin rather than the drain. These materials do not break down effectively inside pipes and contribute to blockages, particularly when combined with grease.
Frequently Asked Questions
Final Thoughts
A sink clog that a drain snake cannot reach is genuinely frustrating, but in nearly every case it is solvable without a plumber. The vast majority of these situations come down to a buildup in the P-trap that the snake’s coil was deflecting around rather than reaching. Physically removing and cleaning the P-trap, as described in Method 3, resolves approximately 80 percent of all cases of this type and takes less than 30 minutes.
Start with the simplest approaches first. A boiling water flush costs nothing and takes 10 minutes. Baking soda and vinegar costs under two dollars. Work through the methods in order and you will almost certainly have your drain flowing freely before reaching Method 5. And once your drain is clear, the monthly maintenance habits described in the prevention section above will ensure you do not find yourself in the same situation again a few months from now.